The following instructions will describe how to add the relevant JAR files to your Eclipse workspace.
- Download the PaleoSketch recognizer (paleo.jar) and auxiliary library files (lib.zip).
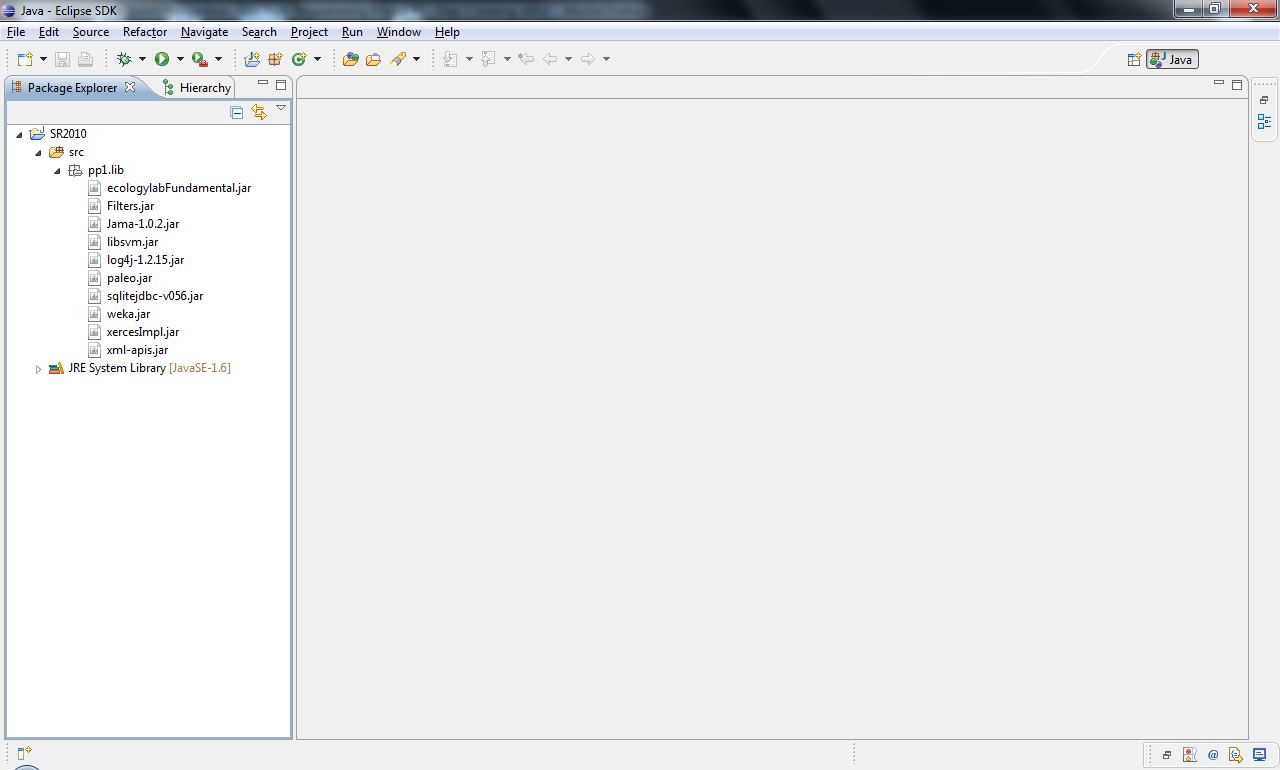
- Create a folder called lib and put the paleo.jar. Also extract the jar files from lib.zip files and put it in this folder. The contents of the lib folder should look like the image below.

- In Eclipse, create a workspace and a package specifically for this project. In our example, a workspace called SR2010 and a package called pp1 was created.

- Move the lib folder that you created earlier and put it in the pp1 package.

- Right-click on the workspace name (e.g., SR2010) and selected Build Path -> Configure Build Path... A window called Properties for <Workspace Name> will pop up.

- In the pop-up window, you should be in the Libraries tab. If not, click the Libraries tab. In this tab, click the Add JARs... button. Another window called JAR selection should pop up.

- Navigate to the lib folder in this new pop-up window, select all the JAR files, and click the OK button. You should now see the selected JAR files appear in your Libraries tab. Click OK again to go back to your workspace.

- Once you are back at your workspace, you will see a new addition to the Package Explorer (right-hand pane) called Referenced Libraries. If you followed the instructions above, the JAR files will appear in your Referenced Libraries to use for your project.

- Now you can parse the data into the appropriate data structures for the PaleoSketch recognizer.